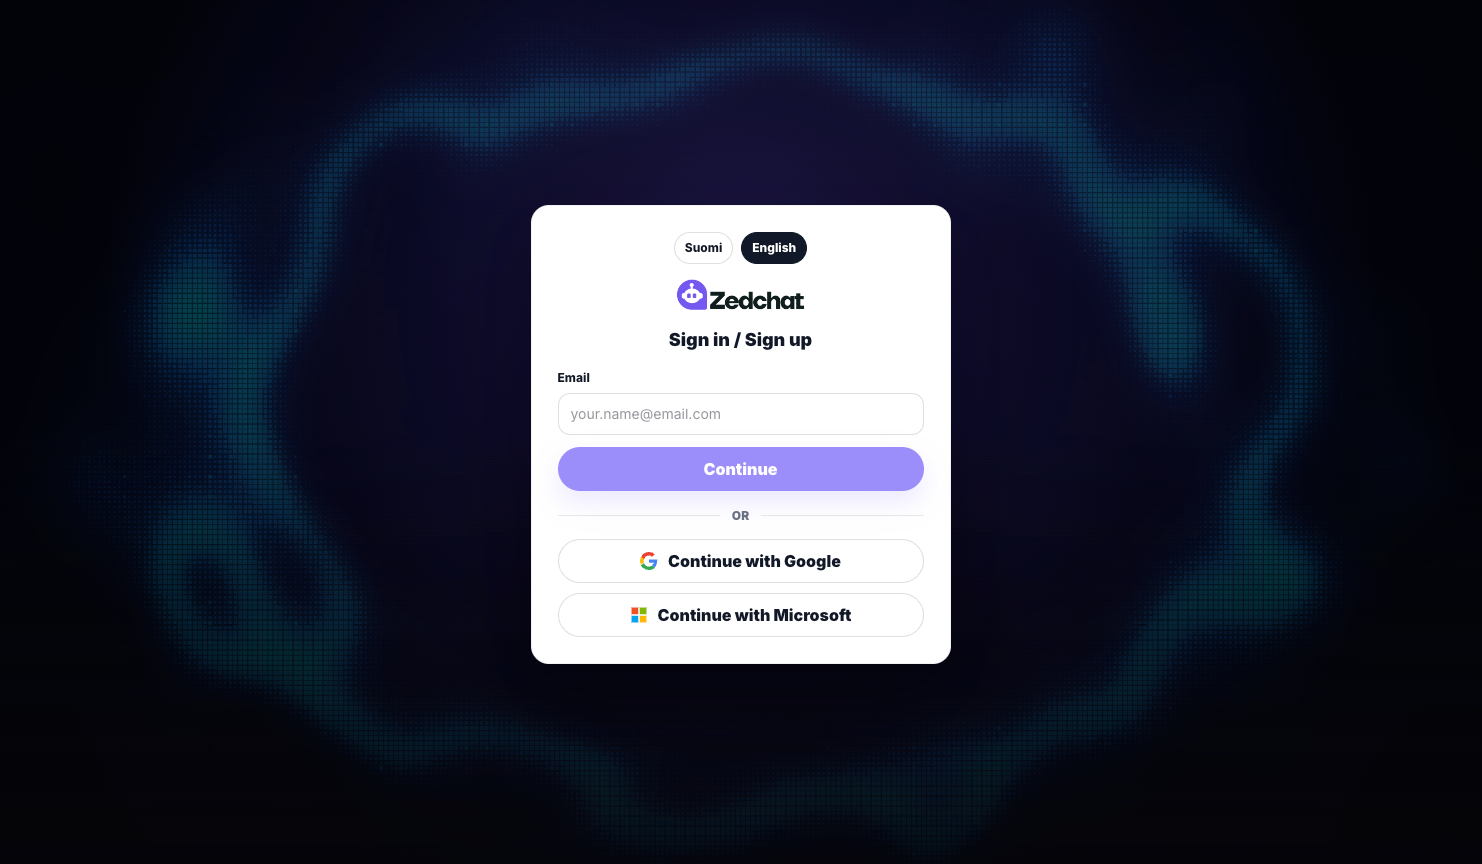
ZedChat

ZedChatin Käyttöönotto

Meet Zedi

Zedi gets you started — and your leads moving.

Zedi guides your setup, helps route visitors down the right path, and helps you build an experience that captures contact details and sends warm leads straight to your inbox.

Live in minutes No heavy setup Leads sent straight to email
Setup Guide
Setup Guide

How to set up ZedChat step by step

From logging in to the knowledge base, topics, chatbot settings, and finally the install script.

1

Log in

At this stage, you start by logging into ZedChat. You can log in with email, Google, or Microsoft.

Do this
  • Select your language at the top: Finnish or English
  • Enter your email address if you want to continue with email
  • Or log in directly with your Google account or Microsoft account
  • Continue the login process
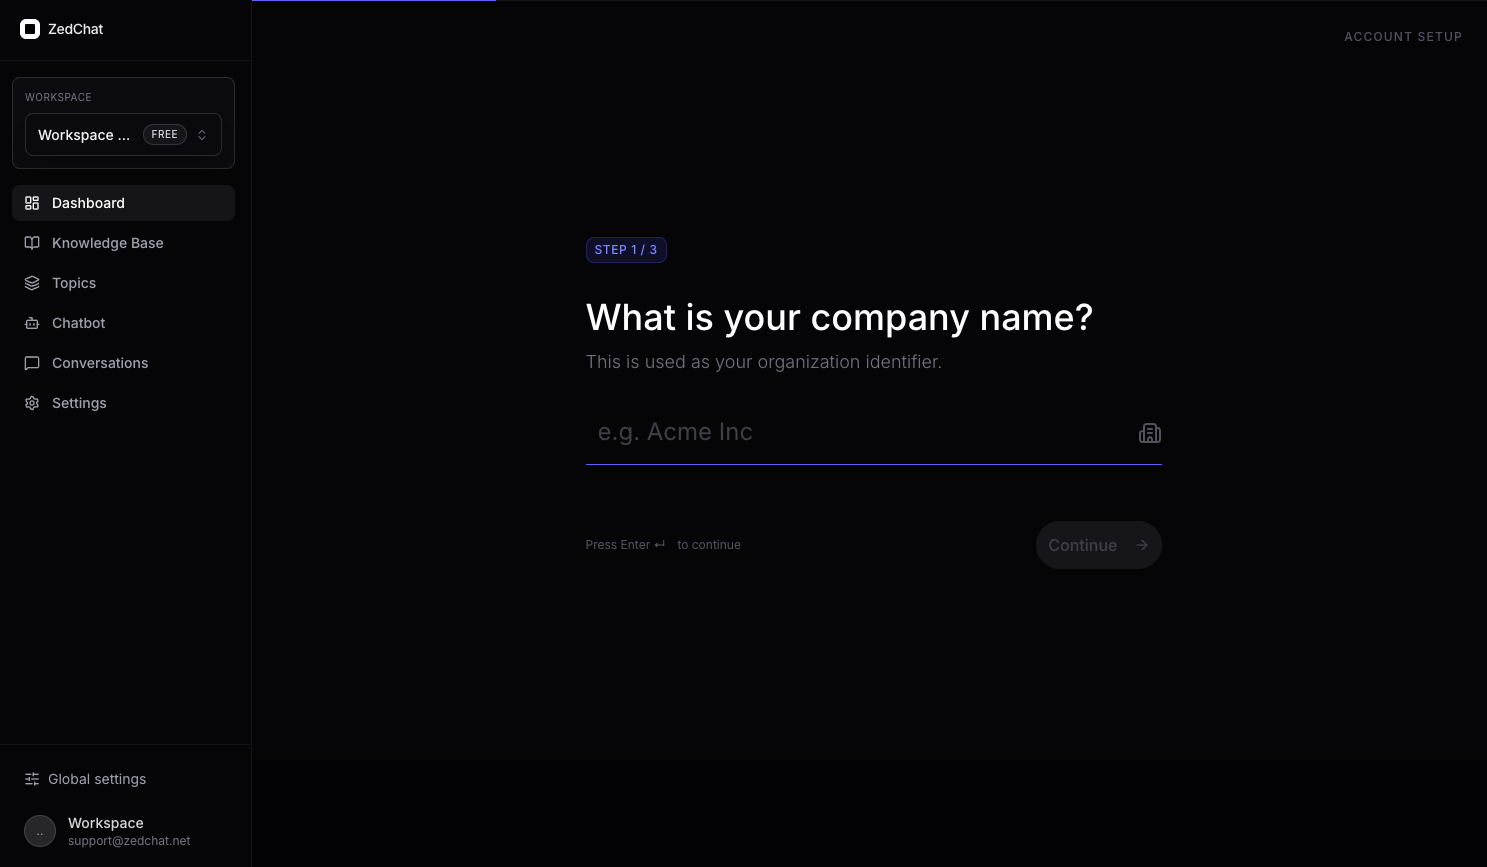
What happens here?

This is where you create a user account or log into an existing one. It is the first step before the bot can be installed.

Log in to ZedChat
2

Enter your company name

After logging in, you create a workspace. A workspace is the place where your chatbot’s data, settings, and materials are stored.

Do this
  • Enter your company name into the field
  • Make sure the name is written correctly
  • Click Continue
What happens here?

At this stage, ZedChat is told which company or brand the bot is being built for. The workspace name should usually match the name your business already uses elsewhere.

Enter your company name
3

Choose the right plan

Next, choose the plan that fits your needs. The plan affects how you can use the chatbot and which features you get.

Do this
  • Review the plans carefully
  • Select the option that fits your use case
  • Click the button for the plan you want
What happens here?

This is where you decide the level at which the chatbot will be used. If you want to install the bot on your live website and use it visibly for real visitors, this is where you choose the right paid plan.

Choose the right plan
4

Add information to the Knowledge Base

The Knowledge Base is where you add the content the chatbot uses. The bot uses this information when answering questions.

Do this
  • Open Knowledge Base from the left menu
  • Choose how you want to add content
  • Add a PDF, upload a file, or write text manually
  • Add at least one content source for the bot
  • Finally, check that the added content appears in the list below
What should you add here?
  • Service descriptions
  • Your pricing
  • Frequently asked questions
  • Your company presentation
  • Delivery and contact information
  • Any other important instructions or texts
What happens here?

This is the stage where the bot gets the information it needs to answer customer questions.

Add information to the knowledge base
5

Create a new topic

Topics tell the chatbot what it can talk about and how it should answer. The Knowledge Base contains the information, but Topics guide how that information is used.

Do this
  • Open Topics from the left menu
  • Click Create new topic in the top-right corner
  • A form will open on the right side where you fill in the topic details
What happens here?

Here, you create a clear topic area for the chatbot, such as General Info, Services, Pricing, Booking, Delivery, or FAQ. This helps the bot stay on topic and use the right information in the right situation.

Create a new topic
6

Fill in the topic details and publish the topic

At this stage, you define how one topic works and how the bot uses its information.

Fill in these fields
  • Topic name – for example General, Services, Pricing, or FAQ
  • Description – briefly explain what this topic covers
  • Data sources – choose the content you added to the Knowledge Base
  • Answer style – Strict, Neutral, Friendly, or Empathetic
  • Allowed topics – what the bot is allowed to talk about inside this topic
  • Blocked topics – what the bot should not talk about inside this topic
  • Finally, click Publish topic
What happens here?

This is where you teach the bot to use a certain content source in a certain way. In practice, this tells the bot what it can talk about, what information it should use, and what tone it should use when replying.

Fill in topic details
7

Chatbot page: main bot settings

On the Chatbot page, you edit the main bot settings. This is the place where the bot is customized to match your business.

On this page, you can edit things like
  • The chatbot welcome message
  • The chatbot language
  • The chatbot image or avatar
  • The chatbot primary color
  • The chatbot’s overall brand appearance
What happens here?

This is where you decide how the bot looks to your customers and how it starts the conversation. For example, the welcome message, language, and color can be adjusted to match your brand.

Main chatbot settings
8

Chatbot page: advanced settings and install script

In the lower section of the Chatbot page, you can adjust more settings and copy the install script.

On this page, you can edit things like
  • The exact brand color
  • Whether the bot shows powered by text
  • Where the bot’s optional link points
  • The chatbot sales and goal settings
  • The install script added to your website
What is the install script?

The install script is the code added to your website. It is what makes the chatbot appear on your site.

What happens here?

This is basically the final important step before launch. Once the settings are ready and the install script is copied to your website, the bot can go live on the real site.

Advanced settings and install script
Summary

The whole setup in a very simple way

1.Log in
2.Create a workspace
3.Choose a plan
4.Add content to the Knowledge Base
5.Create Topics
6.Edit Chatbot settings
7.Copy the install script to your website